
Creating and running our first program
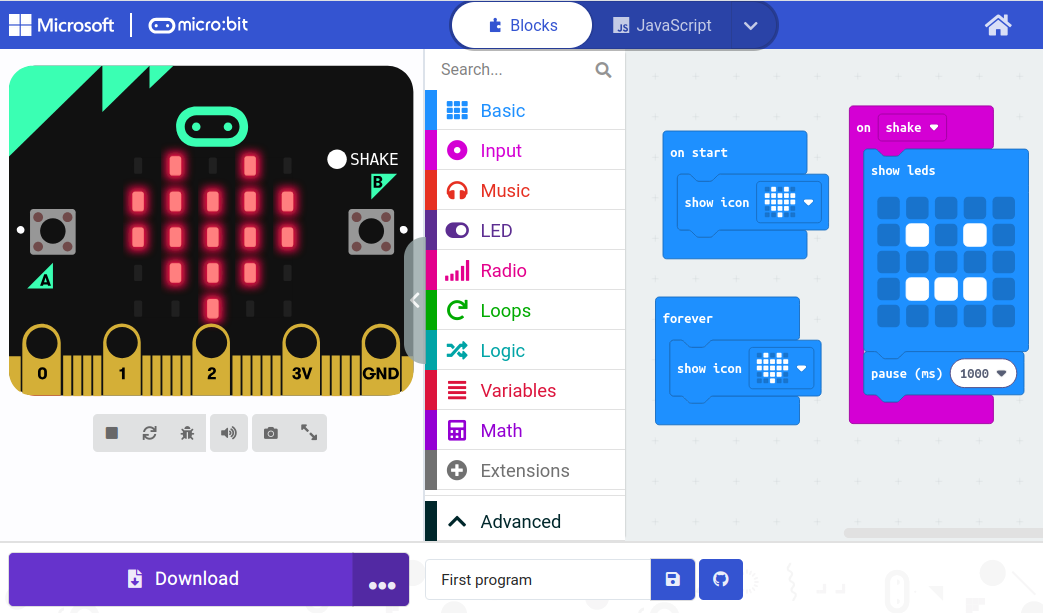
Let’s write a programme that displays a heart at the start and changes its expression for a second when we shake the board.
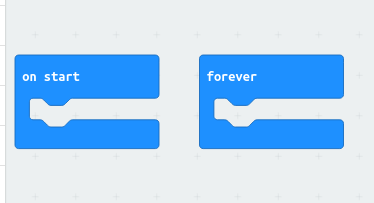
By default, MakeCode places two events in the programming area that can be used to start the code: ‘On Start’ and ‘Forever’.
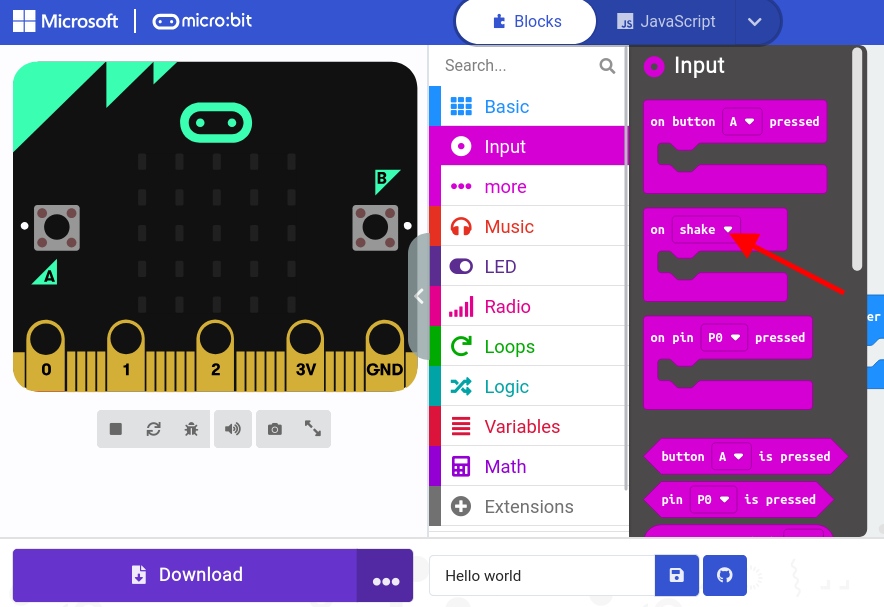
There are also other events that allow you to start the programme, located in the ‘Input’ category: ‘On Button Press’, ‘On Pin Press’ and ‘On Shake’. Each one also offers various options.
To create the programme, drag the various blocks into the programming area.
You can test how the programme works in the simulator on the left. Furthermore, depending on the blocks you have added, various options will appear that allow you to interact with the simulator.
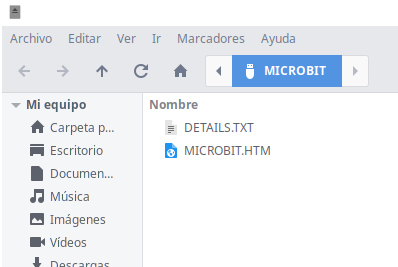
Once you have connected the micro:BIT to the computer, it appears as a new drive.
Once the programme is complete and you have checked that it works correctly, click on the download icon, which copies the code to the computer with a default name. Alternatively, you can enter your chosen name in the box next to the disc icon and click on it to download.
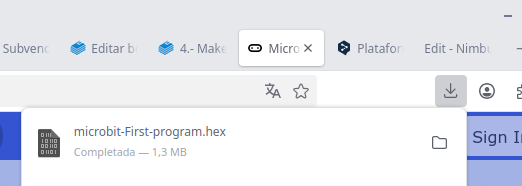
All that remains is to copy the file with the .hex extension to the drive that appeared after connecting the micro:BIT to the computer.
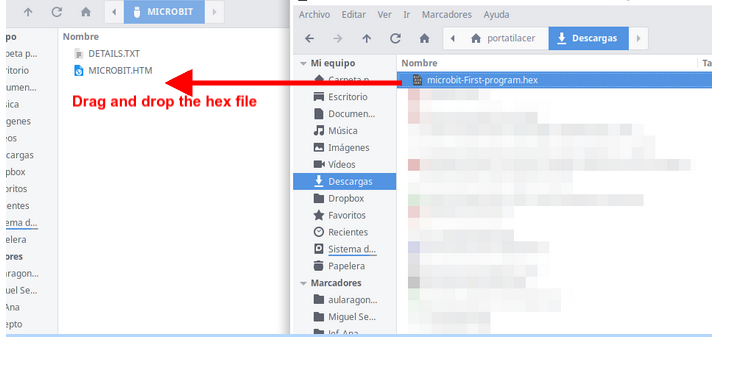
Once the code has been copied, the programme starts running automatically.
If you want to use the micro:BIT disconnected from the computer, you must connect a set of batteries or a rechargeable battery to the connector next to the microUSB port; the downloaded code will then run immediately.
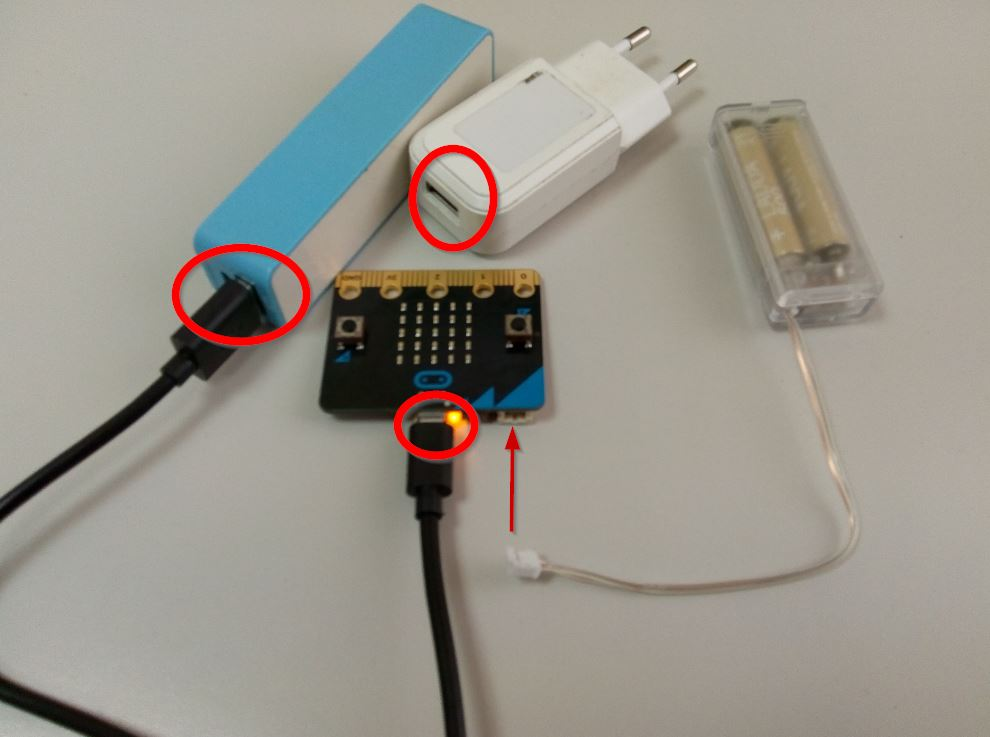
Information and last picture extracted from Catedu.
No comments to display
No comments to display