
Temperature Sensor Challenges
The pannel consists of 25 red LEDs, which can be programmed independently. It can display numbers, letters and images.
The system is designed to scroll automatically if the characters to be displayed do not fit.
Challenge #1: Hello World
When you’re learning to programme, the first programme you create is called “Hello World”. This code displays the text “Hello World!” on a display device.
Objective.
When you connect the micro:BIT, the text “Hello World!!!” should be displayed on the board’s LED panel
Code description.
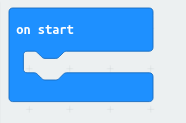
We suggest using the ‘On Start’ event, which is in the ‘Basic’ category. This block allows the code entered to be executed when the micro:BIT starts up.
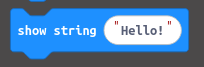
Next, we will use the ‘Display String’ block, also found in the ‘Basic’ category, and enter the text “Hello World!!!”. This block displays the entered text character by character.
The code will look as follows.
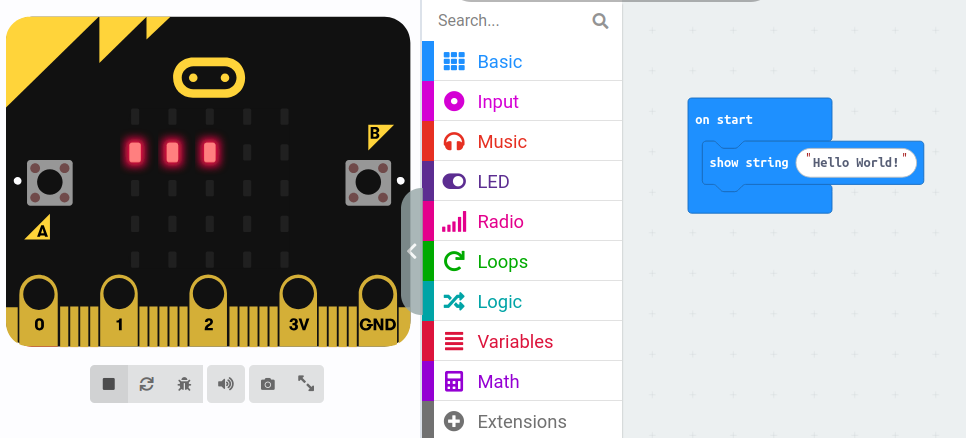
The entered text string will immediately begin to be read on the LED panel. The text doesn't fit entirely, so it will scroll automatically.
Extra exercise
Modify the code, so that it shows the programmer's name.
Challenge #2: Animations
Animation is a technique that creates the illusion of movement in static images. It is achieved through a sequence of ordered images which, when displayed consecutively, generate the visual illusion of motion.
Objective.
When the micro:BIT is connected, a beating heart will be displayed on the LED panel.
Code description.
The "forever" event, located in the Basic category, will be used.
Inside the previous block, place the instruction to show icon, using the heart icon.
Add the pause block (ms(100)) located in the Basic category.
Repeat the two previous blocks, but this time selecting the "small heart" icon.
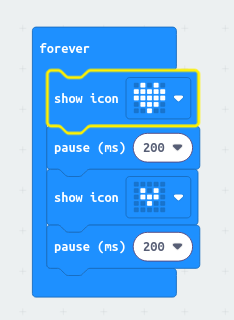 Immediately, a heart that appears to be beating is displayed in the simulator.
Extra exercise
Modify the code, by using the block " show leds"so that it shows a scissor opening and closing.
Challenge #3: Designing icons
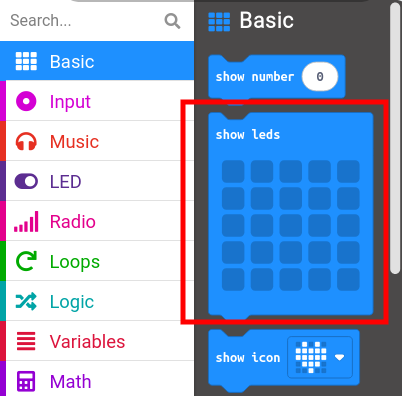
MakeCode allows you to graphically design the icons to be displayed on the LED display. For this purpose, it has a specific block located in the Basic category. The block is called “show LEDs” and allows the user to design their own icons by independently selecting the LEDs they want to illuminate.
Objective.
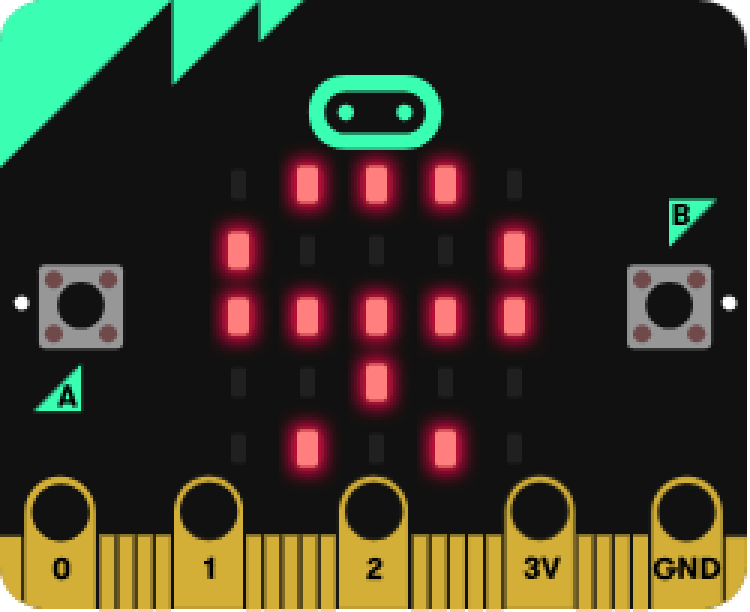
Design an icon in the shape of an Indalo. This is a cave painting found in the province of Almería, representing a human figure with outstretched arms and an arch above its hands. It is currently considered a symbol of the province of Almería.

Code description
The "On Start" event, located in the Basic category, will be used.
Place the "show LEDs" instruction inside the previous block, which is also located in the Basic category. This block allows you to independently select the LEDs you want to light up.
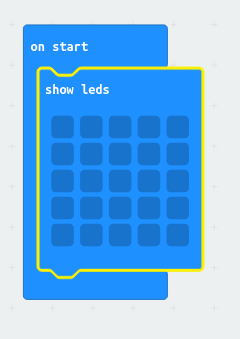
Click on the LEDs you want to illuminate until you achieve the desired icon.
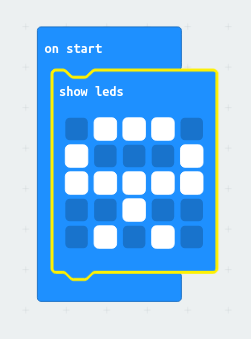
The result will be displayed in the simulator area.
Extra exercise.
Design code that displays a logo designed by the programmer.
Information extracted and translated from catedu.