
First steps with MakeCode
We are going to use the online version of MakeCode, available in https://makecode.microbit.org/#editor
General description
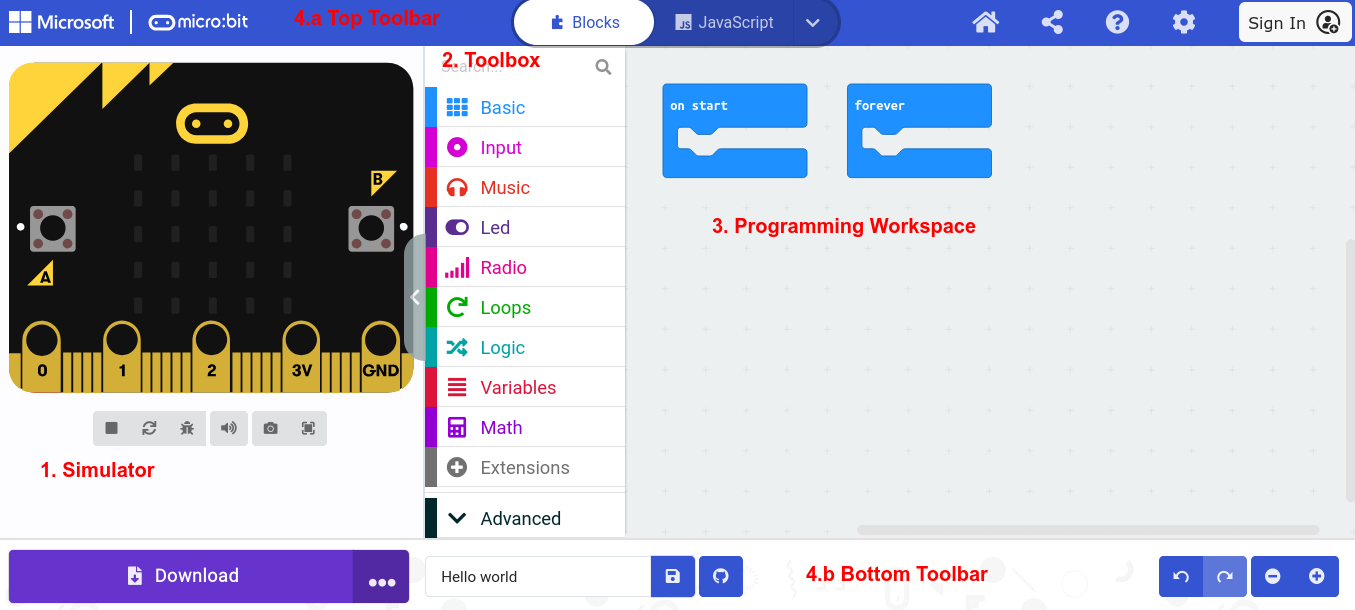
- Simulator: Located in the upper-left corner of the screen, the simulator displays a virtual micro:Bit where you can see your program running. This section is useful for testing and debugging your code before downloading it to the board.
- Toolbox: Located in a vertical panel next to the simulator, the Toolbox contains the programming blocks organized into categories. Clicking a category name opens a panel on the right displaying the most commonly used blocks in that category. Note that, just below the category name, you will often find a More... option. Clicking it reveals the remaining blocks in that category. To use a block, simply drag it into the programming workspace.
- Programming workspace: Located to the right of the Toolbox, this is the area where you drag and arrange blocks to create your program.
- Toolbar: located at the top and at the bottom of the page, with different options.
- Top toolbar:
 Link to the dashboard
 You can view the code in blocks or in different languages (JavaScript or Python)
 If you sign In, you can share and save your projects online.
 - Bottom toolbar
- Top toolbar:
 Button to download the project into the board or a file.
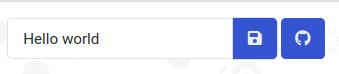 To rename the project, save it as an hex file or in github repositories.
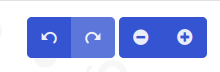 To undo and redo last actions, and to zoom in and out the programming workspace.
Info extracted from catedu